


Introduction
AWS has kicked off its annual re:Invent keynotes and sessions this year and has already launched some interesting new features and products. One of these that caught my eye was the Lambda Container Support.
Lambda Container Support is an extension of the work AWS has been doing regarding custom runtimes and similar features. The idea is that you can use your existing docker containers with not too many changes and use the same processes and tools you are used to in Docker to test and deploy lambda functions.
This example will go over creating a simple docker container from the python:buster base image (which is based on debian), installing the AWS Lambda Python Runtime Interface Client ( https://pypi.org/project/awslambdaric/ ) which is a python module that allows you to interact with Lambda, and run a simple python script to demonstrate the process.
The Python Script
For this example, the actual python script is very simple, just returns the content of /etc/os-release to show we are running on debian:
def handler(event, context):
   f = open("/etc/os-release", "r")
   version = f.read()
   return version
The dockerfile
To demonstrate a container being compiled and uploaded to be deployed to the lambda service, we create the below docker file.
In the same directory we have the above python script in app/app.py
ARG FUNCTION_DIR="/home/app/"

FROM python:buster
ARG FUNCTION_DIR
RUN mkdir -p ${FUNCTION_DIR}
COPY app/*.py ${FUNCTION_DIR}

RUN apt-get update \
   && apt-get install -y \
       g++ \
       make \
       cmake \
       unzip \
       libcurl4-openssl-dev
RUN python3 -m pip install awslambdaric

WORKDIR ${FUNCTION_DIR}
ENTRYPOINT [ "/usr/local/bin/python3", "-m", "awslambdaric" ]
CMD [ "app.handler" ]
This docker file does the following:
- Sets our function directory to /home/app/
- Gets the latest python:buster base image
- Creates our function’s directory
- Copies our python script into the function directory
- Updates the base image and installs some build dependencies for aws lambda runtime interface client
- Installs the runtime interface client module
- Sets our working directory to the functions directory for the path
- Set our entrypoint (the interpreter – in this case python3 with the awslambadic module loaded)
- Set our command, which is our handler.
In effect, the lambda process will run /usr/local/bin/python3 -m awslambdaric app.handler and pass in the event and context
Pushing to AWS Elastic Container Registry
To build and push to ECR, you need to first login:
aws ecr get-login-password --region REGION --profile PROFILENAME | docker login --username AWS --password-stdin ACCOUNTID.dkr.ecr.REGION.amazonaws.com
Where REGION is your region, such as eu-west-1, PROFILENAME is your aws profile (optional depending on your aws credential setup) and ACCOUNTID is your AWS account id.
Then create a new repository:
aws ecr create-repository --repository-name REPONAME --region REGION --profile PROFILENAME
Where REPONAME is your repository name, REGION is your region, such as eu-west-1, PROFILENAME is your aws profile (optional depending on your aws credential setup).
Then in your directory where your dockerfile is:
docker build -t REPONAME .
Tag your container, in this case, i’m using latest:
docker tag REPONAME:latest ACCOUNTID.dkr.ecr.REGION.amazonaws.com/REPONAME:latest
Push your container:
docker push ACCOUNTID.dkr.ecr.REGION.amazonaws.com/REPONAME:latest
Creating the Lambda
To create the lambda from a container, create a new function and choose the Container Image option:
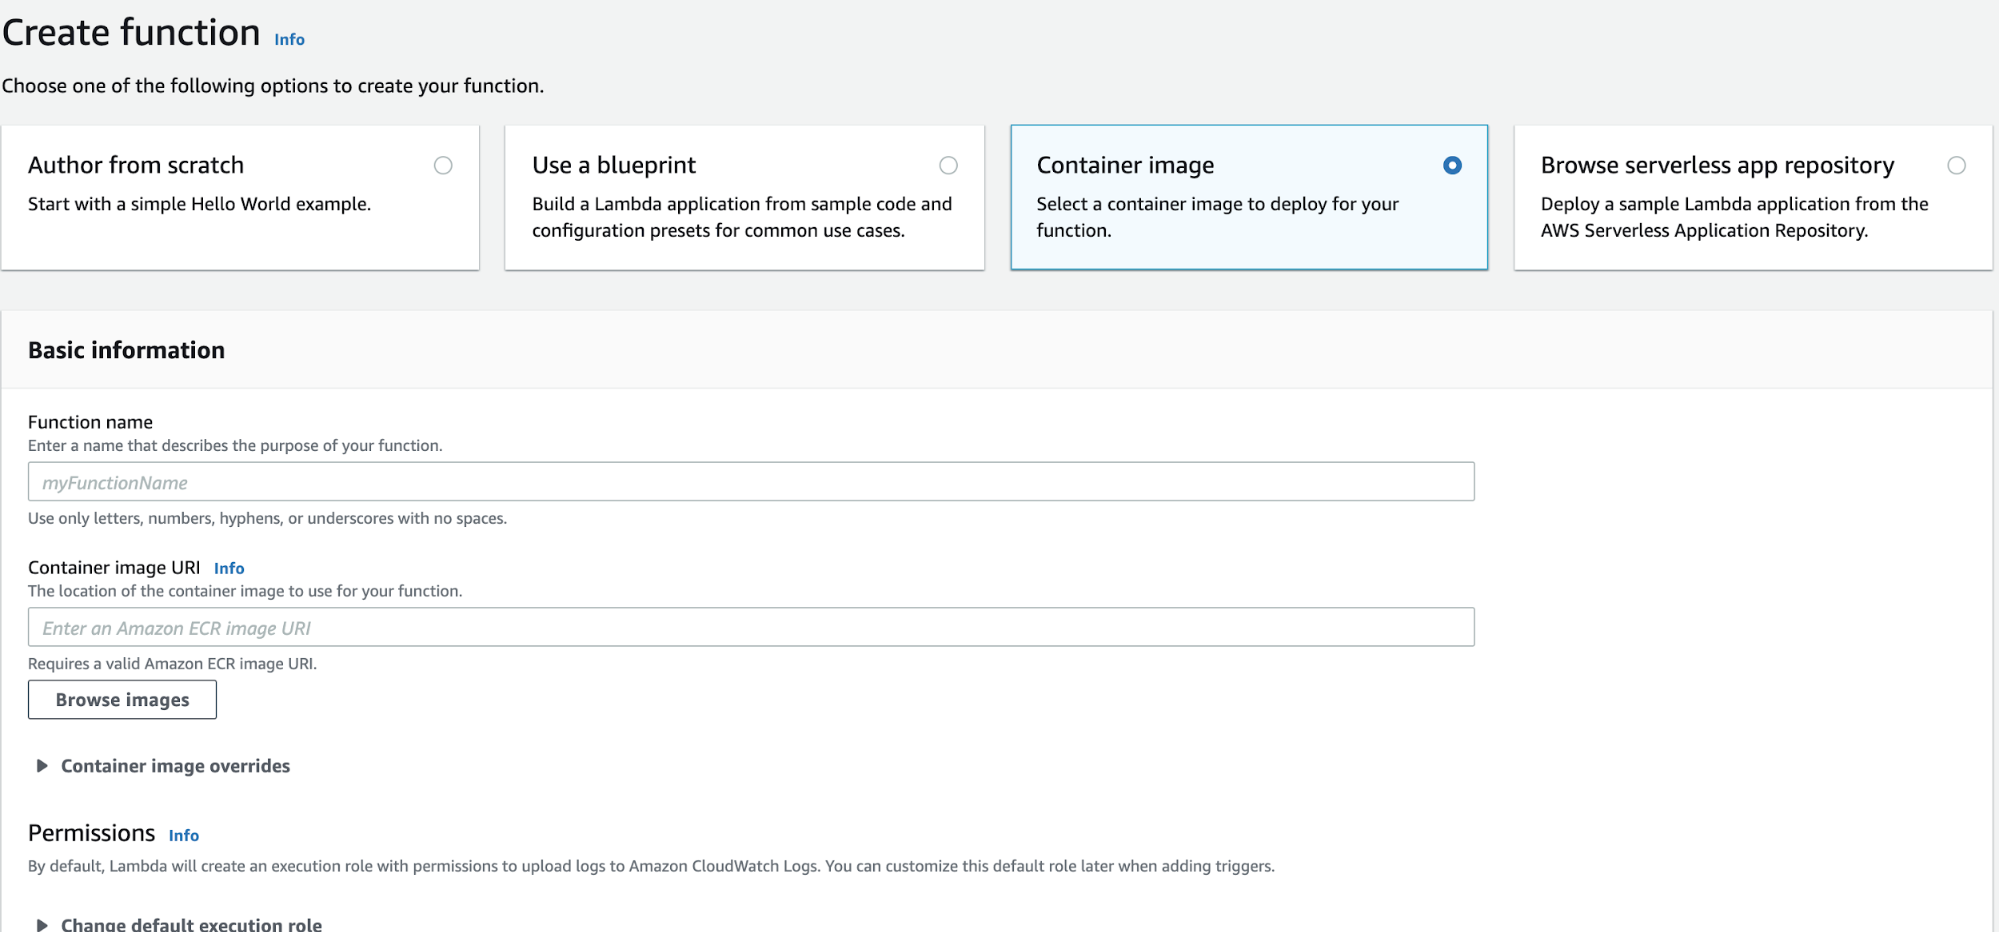
Create Lambda using Container Image
Choose a name, and then choose Browse Images. Choose your repository and the latest container.
Once the lambda has created, you can create an empty Test Event and run the lambda. It will output the Debian version details:

Run the Lambda to see the Debian OS Details
If you make an update, then just build, tag and push your container, and to update in lambda, choose Deploy New Image:
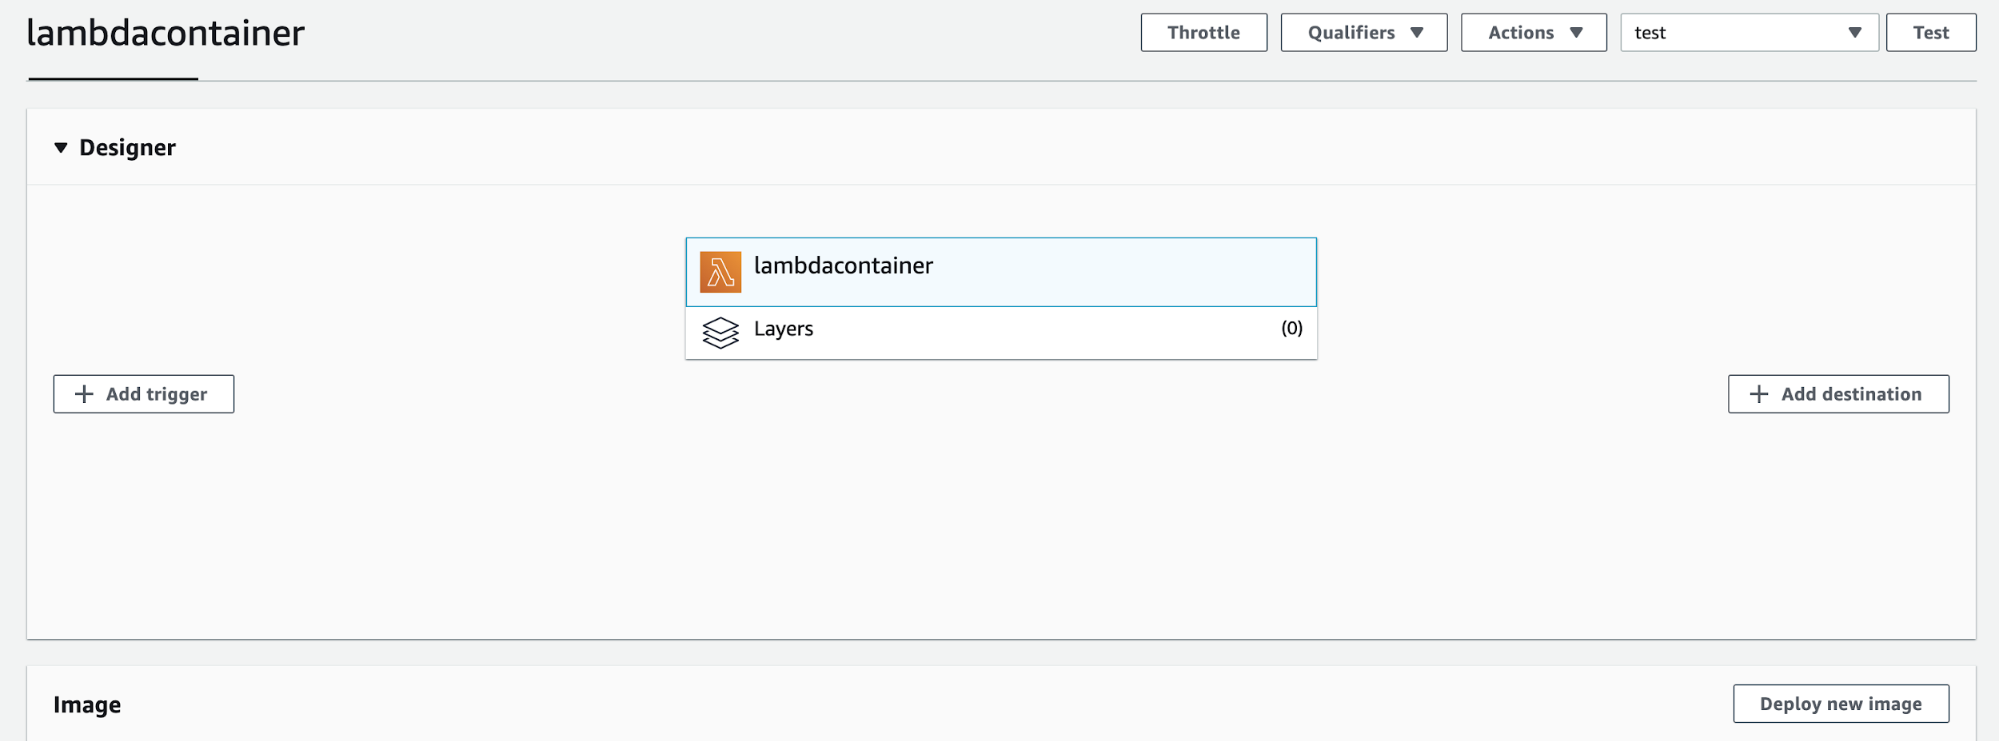
Click Deploy New Image to deploy a new version of your container
Then as before, Browse Images and choose your repository and the latest container. It will deploy a new container based on the latest version in the repository.
Conclusion
As you can see, a lot of the same processes used when creating and deploying docker containers can be used for Lambda Containers, including features such as repository scanning. Using Lambdas as your way of executing containers brings all the other features Lambda offers, such as triggers and tight integrations with other AWS Services.